WEATHER
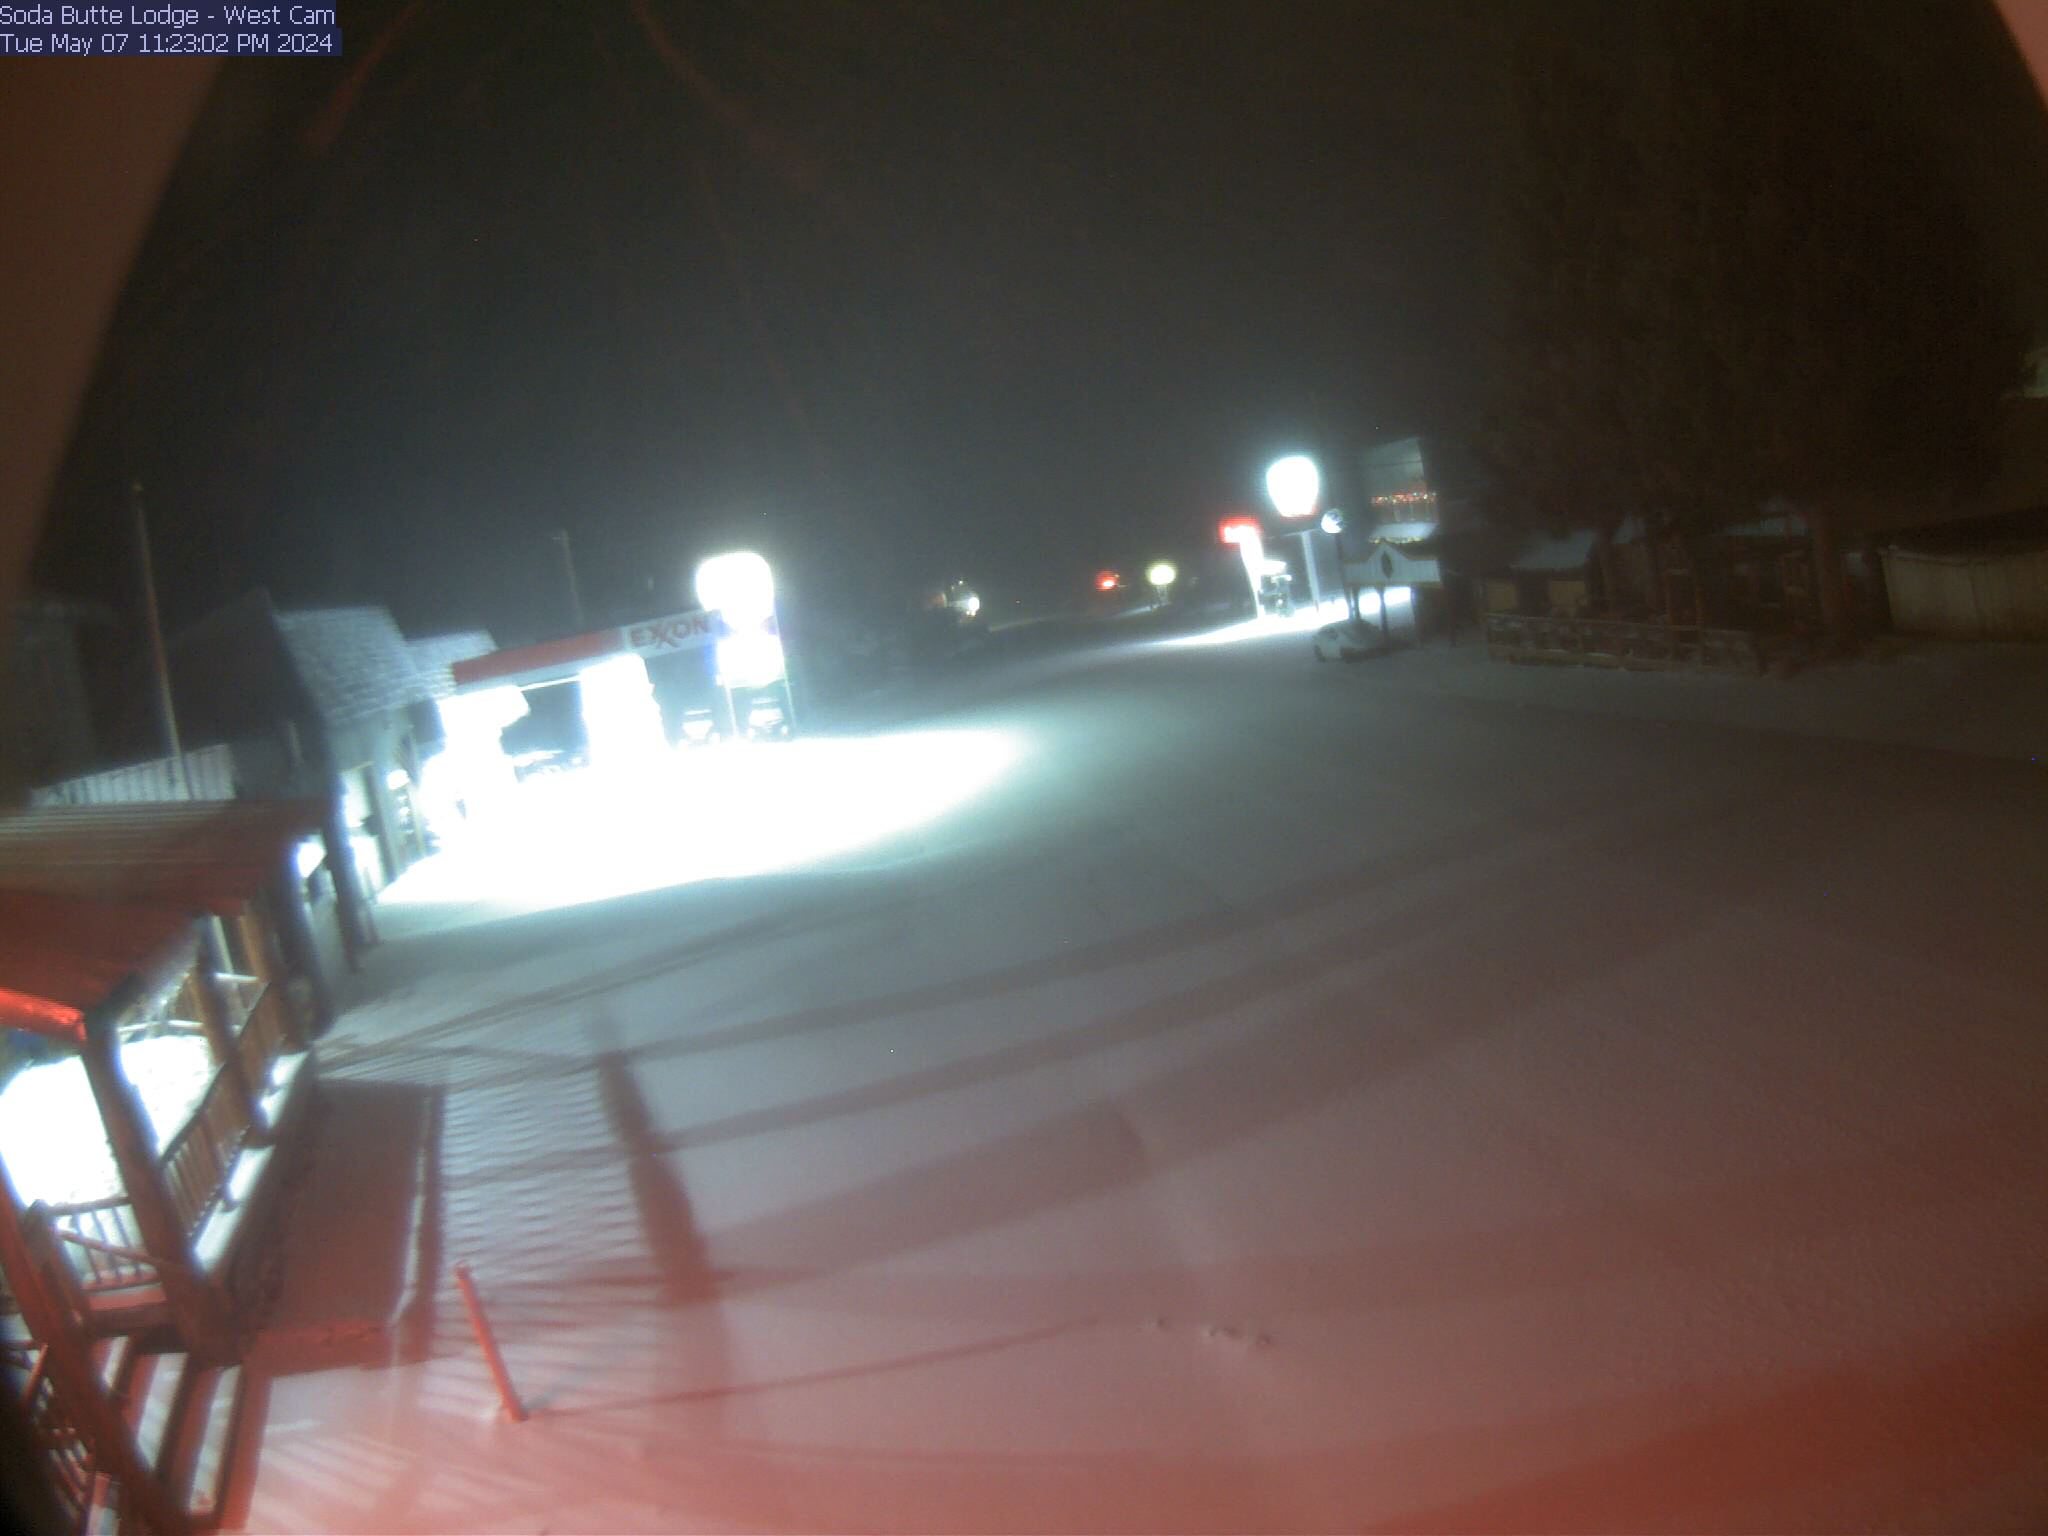
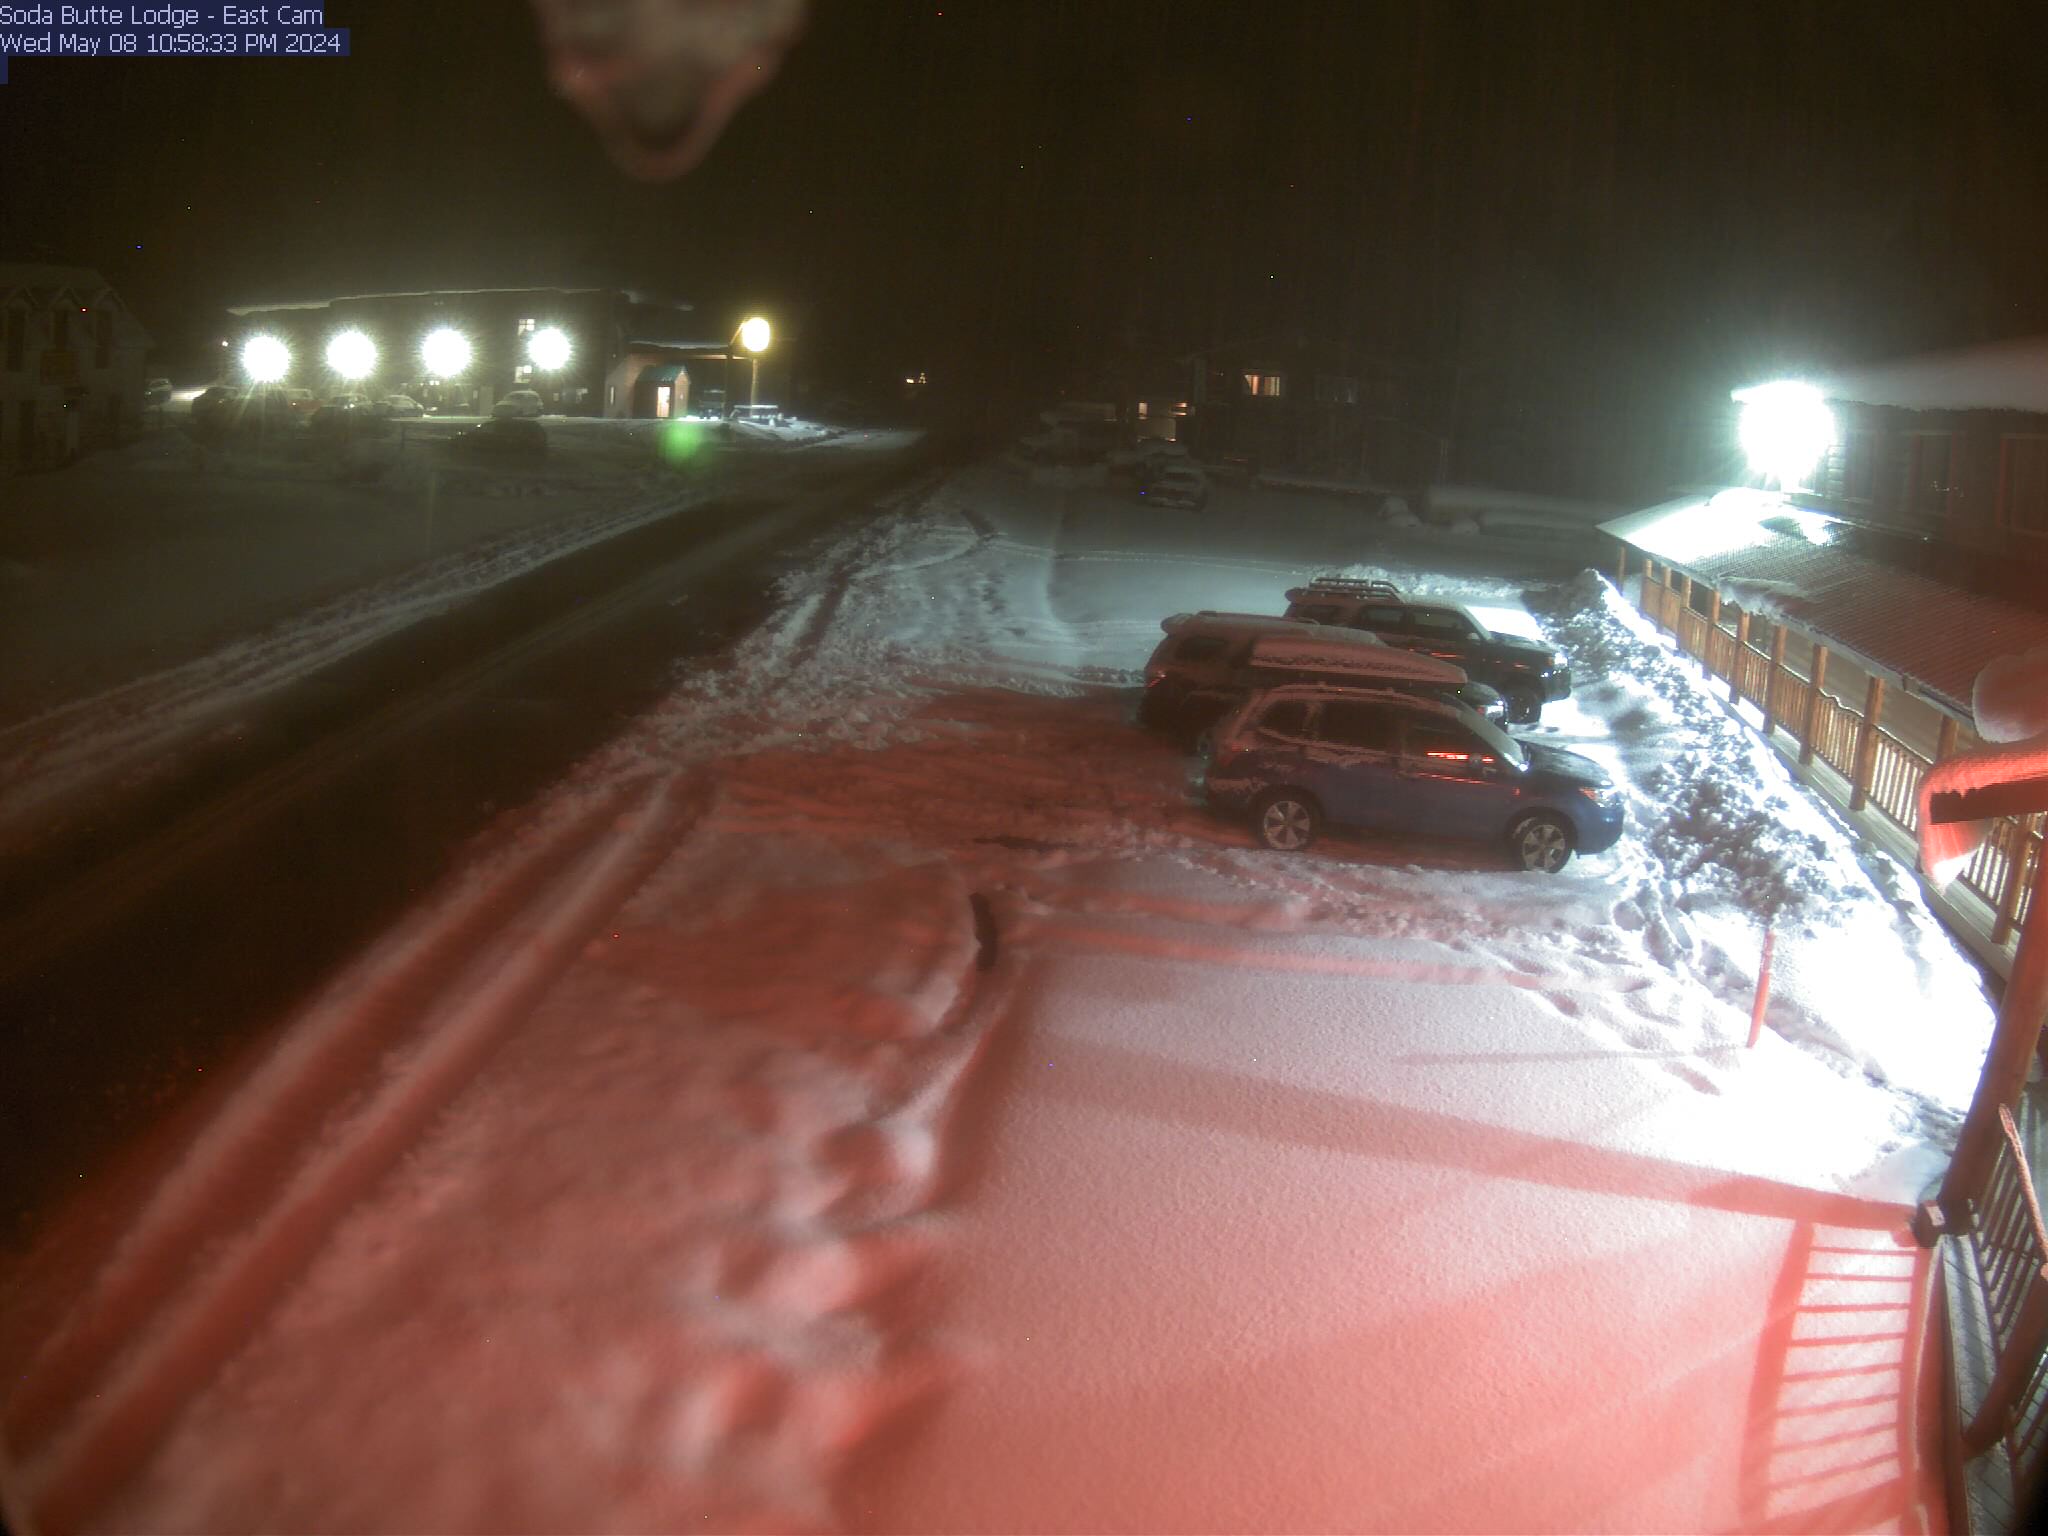
CAMERAS


COOKE CITY RIDING DESCRIPTION
Cooke is one of my favorite places to ride!
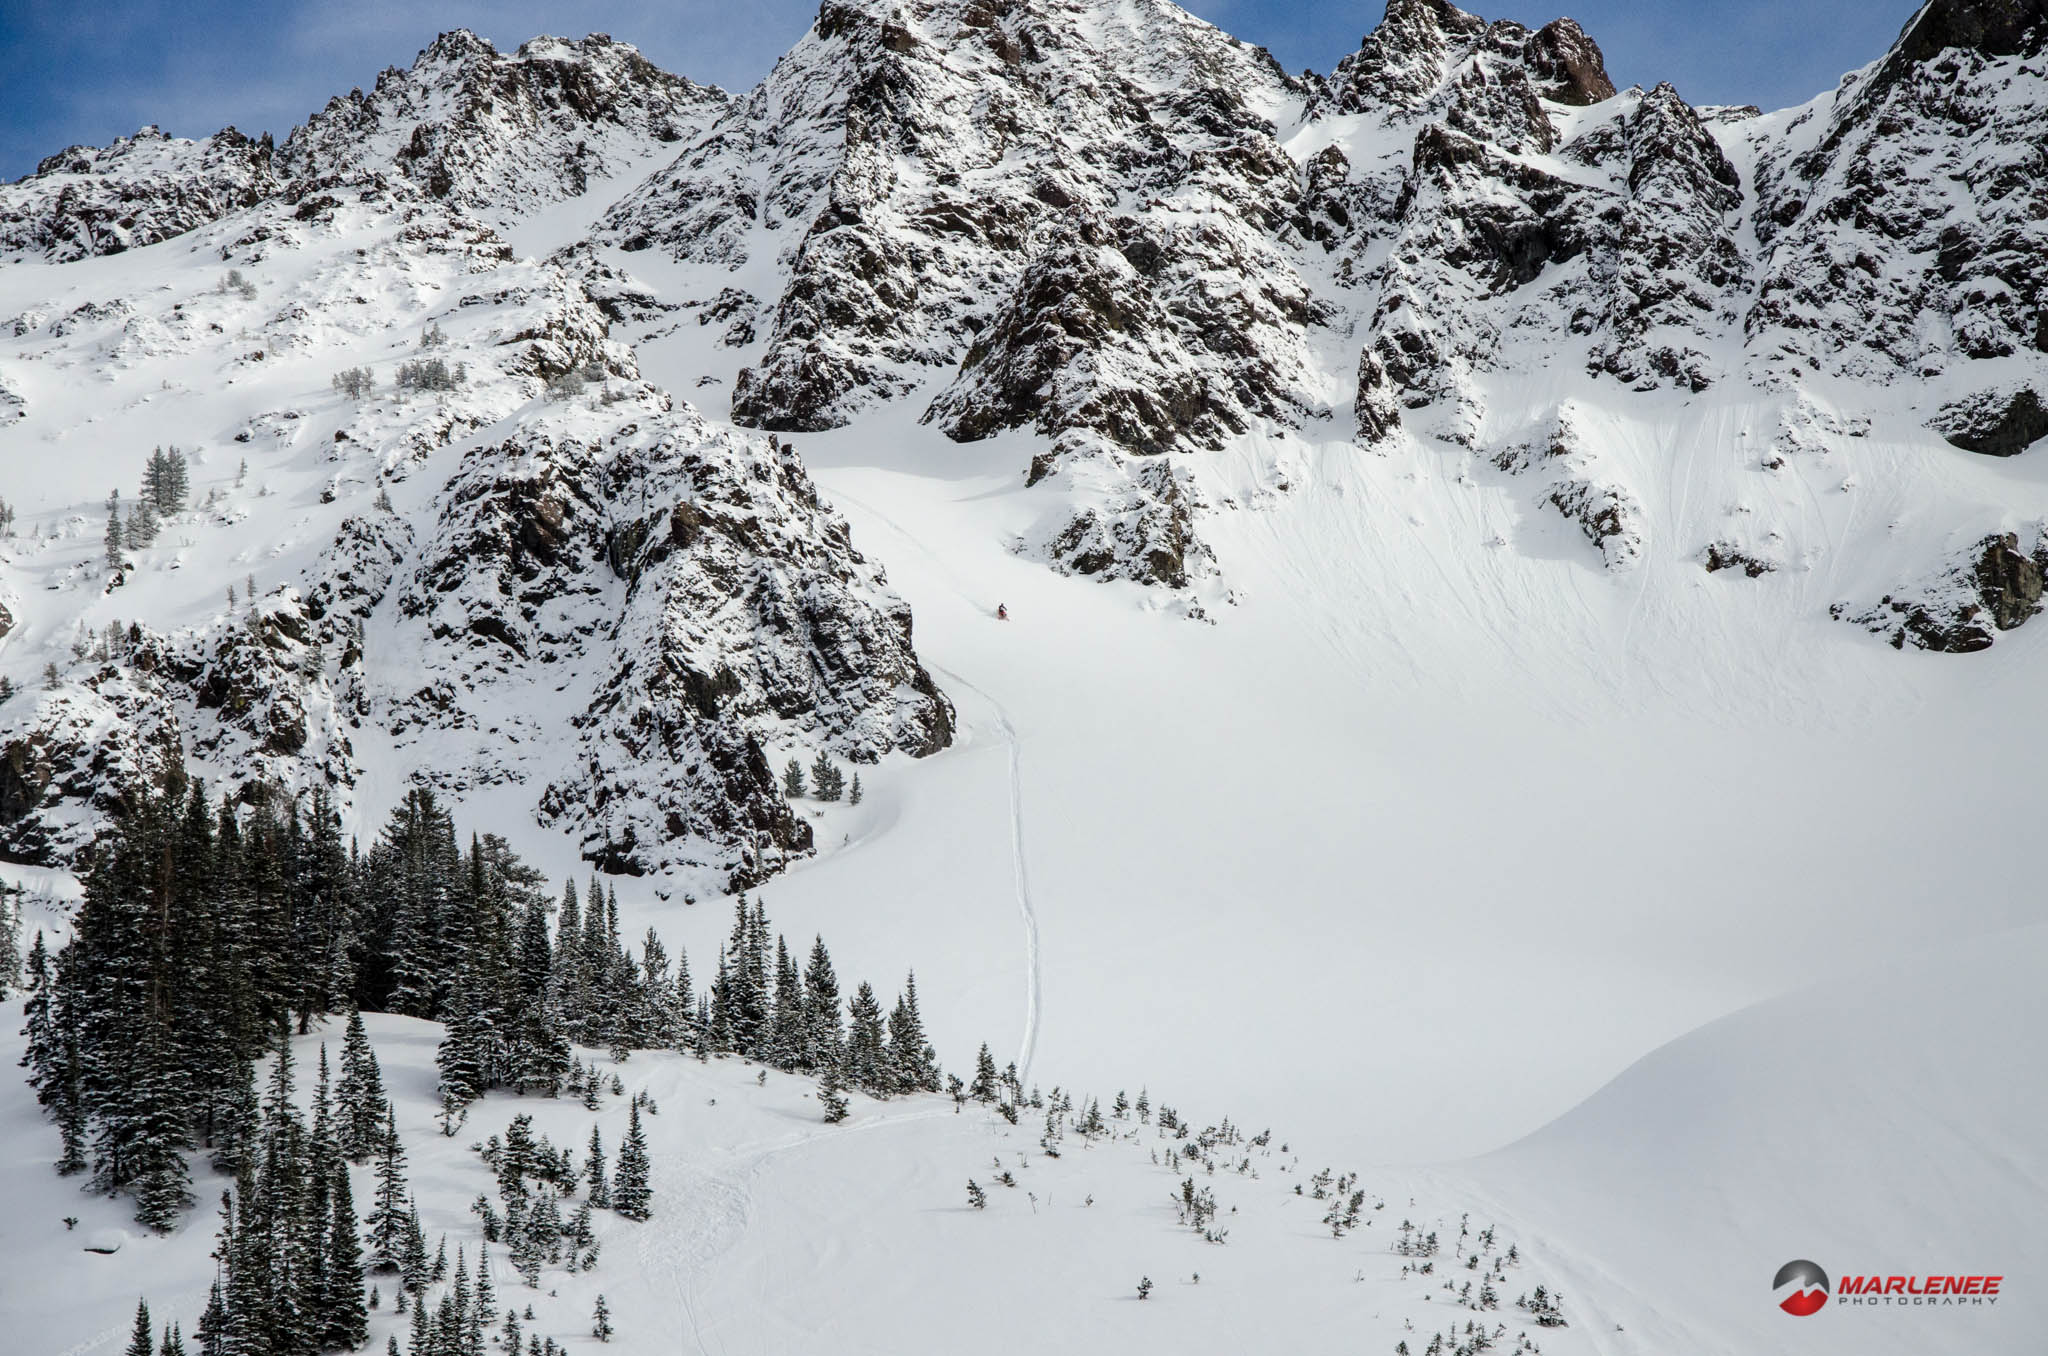
Established in the early 1880s, the town still has a rustic Old West atmosphere, which can be traced to its mining roots. Today, surrounded by national forest, wilderness and Yellowstone National Park, the area is an outdoor recreationist’s dream. Impressive high mountain peaks and valleys abound.
Cooke City sits at 7,572 feet. Average snowfall is 250+ inches per year. Highway 212 (Eastbound) closes to wheeled vehicle travel and is groomed. From Cooke City, travel East down the groomed highway and take your choice of trails. Although the Cooke City area only shows 60 miles of trails, do get discouraged. What many people consider the most epic riding in the lower 48 is just five miles down the groomed trail!
You have your choice when in Cooke; there is something for everyone. Thousands of acres of snow-covered meadows are surrounded by the great mountains of the Beartooth and Absorka ranges. One can easily spend all day playing in the powdery meadows, or mix it up with an afternoon of hill-climbing. There are several large rock formations that are perfect for jumping, and several frozen lakes for those who want to take it easy.
Tips to Make it Epic
- You HAVE to hit Cooke on the day of a storm. It’s a smaller area, and can get a lot of traffic since it’s one of the closest mountain-areas for a LOT of riders.
- Generally, storms come through for 1-2 days. A storm in Cooke is MISERABLE! But, if you arrive on the last day of the storm, the next day is almost always deep and blue-bird.
- If you hit the lotto on snow days, get out early. Cooke is way down in the valley and it doesn’t get light until pretty late, tricking you into sleeping in. I would say that 95% of riders get on the hill before 9:30-10:00 AM. If you get going early, you might really score.
- Call a local. I always check snow conditions before I go.
- Plan for cold. I generally try to hit Cooke mid-February or later. January can see extended periods of time well below zero.
Special Considerations
- There is NO CELLULAR RECEPTION in Cooke City. Most people lose reception by Mammoth Hotsprings on the Drive-In route, and at the Cheif Joseph Highway turn-off on the Ride-In route.
- You can use Wi-Fi at several locations, although miserably slow, to text and email
- Pay phones are still the best way to talk to family
HOW TO GET TO COOKE CITY
There are ONLY TWO WAYS to get to Cooke City in the winter. The first way is described as the “ride-in” and the second is the “drive-in”.
Use the Zoom feature on any of the maps to get a more detailed map. Cooke City merchants have a wide variety of goods and gear at reasonable prices, so don’t worry too much about packing for a year. See below for a comparison of the two routes.
Drive-In Route
While the Drive-in Route is about an hour longer, you’ll have your pickup, trailer, and all of your gear at your fingertips. This route puts you through Yellowstone National Park, so bring your camera! You’ll have to pay a gate fee of $25 per carload (7-day pass or $50 for the one-year pass) to get in. The basis, is that you travel to Gardiner, MT, and drive in through the park, turn at the Tower Falls Junction, and continue to Cooke City, MT.
Driving Instructions from Billings:
Ride-In Route
Typically, an hour shorter for anyone coming form anywhere East of Billings, MT. On this route, just outside of Cody, WY, you turn off at the Chief Joseph Highway, and continue to the Pilot Creek Parking Lot, where you must park your vehicle and ride the last ten miles to Cooke City, MT, on your snowmobile! NOTE: You CANNOT take Highway 212 from Red Lodge to Cooke City. The map below ends at the Pilot Creek Parking Lot. From here, you will follow Highway 212 to the West, into Cooke City. The trail is well-groomed, and takes about 20 minutes or less.
Driving Instructions from Billings:
RIDE-IN vs. DRIVE-IN
One of the biggest questions we get is “Which way should I go”. While this is a pretty subjective question, here is my usual response: If your route would put you through Bozeman OR if you feel you MUST have your trailer, I’d drive in. If your route puts you through Bililngs, MT or Cody, WY, I’d ride in. Below is a brief comparison of the two options. Feel free to email me and I’ll draw you a map of how I would travel.
Drive-In Route
Pros:
- You’ll have your trailer (tools, a place to store sleds, easy to get a broken sled out, etc)
- You’ll see a lot of wildlife, especially in Gardiner and Mammoth
- If it’s a blizzard, i’d rather be in a car than fighting a trail
- You arrive warm, and all of your gear is warm and dry
- If you’re like me, when you’re ready to leave, you’re ready to leave, and don’t want to mess with riding out.
Cons:
- $25 National Park Entry Fee (good for 7 calendar days), or $50 for a year
- You will more than likely end up behind a bunch of stopped tourists, costing you time
- Time/fuel (224 miles vs. 146 from Billings, MT, usually about 2-3 hours longer, on average, for me)
- Speed Limit – The speed limit in Yellowstone is slow (25, 35, 45). And the NPS patrols it, so don’t speed!
- Parking – There isn’t a lot of ‘space’ in Cooke City, and if a bunch of people are there, parking can be more difficult (usually not a problem, though, and if it is, you can park out at lot out of town)
- The road – there are a couple of spots that are pretty shaded from the sun, that are an incline/decline and it can be hairy.
Ride-In Route
Pros:
- Time/Fuel (14+ miles vs. 224 from Billings, MT)
- Parking – the parking lot is HUGE and quite well maintained, and rarely has theft issues
- Road Conditions – Chief Joseph is pretty well maintained and is usually in better shape than the park, especially pulling a trailer
- They groom the trail from the parking lot VERY WELL
Cons:
- $25 non-resident WY sticker required. CLICK HERE to get one
- Gear can get wet
- More than likely, if you strap your bag to your sled, it will fall off, a couple of times. Your bag will shift around and fall off. It’s frustrating (not an issue if you bring a calf-sled)
- Tough to haul gas/tools if needed
- If you/someone in your party gets hurt, they usually take you to Mammoth for non-life threatening injuries, and then you have to find a ride
- If you forget anything, it’s a 20-mile trek to go get it.
- If it snows a ton and/or is windy, the parking-lot plow may leave a little drift in front of your pickup. They do a really good job, but it’s tough to plow all of the snow and not hit your car.
Tips for the Ride-In Route:
- Get a calf-sled. Don’t bother with a cheap sledding-sled. They just tip over and run back and forth across the trail. I’d rather strap my gear to the snowmobile.
- Bring your ratchet-straps along, just in case
- If you are towing stuff that shouldn’t get wet, bring a tarp for the sled
- If you want to keep your sleds indoors, Bearclaw Bob will put them in a heated garage for like $10 bucks a night. He also ‘rents’ out his shop for $20 an hour with tools.
- Bring a larger shovel, just in case you have to dig a little drift from in front of your car to get out.
- I used to always stock up on stuff to haul in, only to find that I could have bought it in Cooke for less money, or that I don’t use it. (Oil, food, etc). IMO, its just a lot easier to buy it all in Cooke. Yeah, you might save $20 bucks as a total, hauling in all of your own beer and oil, and food, but I always end up just drinking beer in the bar, and eating out. Everyone up there is VERY FAIR with their pricing (even below what I can buy in Billings sometimes), and for the $20 extra that you ‘might’ spend, nothing is broken or spilled, and I get to help out a community that RELIES on sledding, and continues to support our sport.
- Stop in and talk to one of the shop-owners like Robert at the Alpine, lucas at the Sinclair, Jan at the Buns-n-beds, or Bob at Bearclaw. Get a map and have them show you the danger areas. There are some excellent-looking chutes, especially on the Southern side of Lulu Pass, but they slide ALL THE TIME. Ten minutes with someone who rides the area regularly could save your life.
- If you drive a diesel, make sure you are running #1 or have additive to prevent gelling.
- If you have a generator, bring it along, in case your rig needs some help starting
COOKE CITY MAPS, ETC.
Here, you will find some resources to aid you on your trek. As riding areas change, YOU MUST check a current USFS approved map that designates boundary lines and appropriate places to operate a snowmoible. Snowmobiling in Cooke City butts up against wilderness. I DO NOT TAKE RESPONSIBILITY FOR ACCURACY OR COMPLETENESS OF THE MAPS BELOW. Always obey Forest Service markers.
Maps
- Cooke City Chamber of Commerce Maps
- Download Google Earth File (This will save a compressed file to your computer. You will need to extract the file and open with GoogleEarth)
Common Questions & FAQ
- Which Way should I go to Cooke City??
- Scroll up to that answer
- How far is it from the Parking Lot to Cooke??
- About 10 miles
- Are you sure your maps are right?
- YES
WHERE TO STAY IN COOKE CITY
Lodging is not an issue in Cooke. Most people offer snowmobile discounts. I suggest the following:
- Antler’s Lodge
- Offers hotel rooms and cabins
- Clean!
- Variety of new cabins and rustic cabins
- Bunz-n-Beds
- Great location
- Affordable
- Rustic
- Soda Butte
- Great Location
- On-site bar and food
- Newly remodled
- Cooke City Super 8
- Clean
- New
Additionally, the these places are involved in the Snowmobile community!
WHERE TO EAT IN COOKE CITY
There aren’t too many choices in Cooke for food (in the winter time), but I usually follow the same routine: Bearclaw Bob’s for breakfast (beneath the Super 8), Bunz-n-Beds for lunch, and the Miners Saloon for supper.


COMMENTS
No comments yet.